

- Published on
How to use Cors with Nest Js
- Authors
- Name
- Bipin Parajuli
- @bipinprjl


How to use Cors with Nest Js
Nest is a Nodejs framework to build server-side applications. In Nest js, it uses an express cors package under the hood to handle CORS.
As an application developer we generally make Cross Origin (CORS) calls as we have to access resources from different application APIs. For example, we use popular APIs like weather API, location API, etc. These APIs are hosted on a different server and also ensure that information is delivered to other applications and website
Let's consider accessing resources such as images and videos from the server. But while trying to access these resources from external server requests may fail. This is a security concern of the browser. This is where CORS comes into the picture to access these resources. Cross-Origin Resource Sharing(CORS) is a security relaxation measure that needs to be implemented in APIs in order to let web browsers access them.

What is Nest Js?
Nest js is a Node js framework to build scalable server-side applications built with typescript.
It fully supports typescript yet enables you to code using JavaScript. It combines the concepts of Functional Programming, Object Oriented Programming, and Functional Reactive Programming.
What is Cors?
Cross-Origin Resource Sharing(CORS) is an HTTP-header-based mechanism that allows a server to indicate any origin other than its own from which the browser should permit loading resources.
In other words, it is a browser security mechanism that restricts cross-origin HTTP requests with other servers and specifies which domains access your resources.
How Does Cors Work?
Think of two different scenarios where you want to make a request to the same server http://example1.com from two different clients http://example1.com and http://example2.com. The first request can be succeeded because the client and server reside on the same origin(http://example1.com).
In the second case, the request to http://example1.com from http://example2.com fails because they are of different origins.


This is a security mechanism handled by the browser. CORS allows us to disable this mechanism and allow us to request different origins.
CORS will add access-control-allow-origins response header and specify which origins are permitted. CORS ensures that we are sending the right headers.
CORS in Nest js
Let’s explore CORS in nest js by creating a sample nest application.
Creating Sample Application
First, install nest CLI globally to create a nest application.
npm i -g @nest/cli
Nest CLI helps us to generate nest applications out of the box. Check it out here
Generate the nest app using the command after installing nest CLI.
nest new app_name
Select npm when it prompts to select package manager. This will create a folder with app_name, node_modules, and some other boilerplate files. Src folder will also be created with several core files. You can have a look at Nest's official documentation.
Now, let’s get into the project directory
cd app_name
Then type npm run start:dev this will run your application in watch mode.Now if we do change Nestjs is smart enough to rebuild the project. It will start the nest application at default http://localhost:3000/ . If you visit from the browser it will give you a hello world and you are good to go.
Open the project in your favorite code editor. Since I use vs code, I gonna open the project by typing:
code .
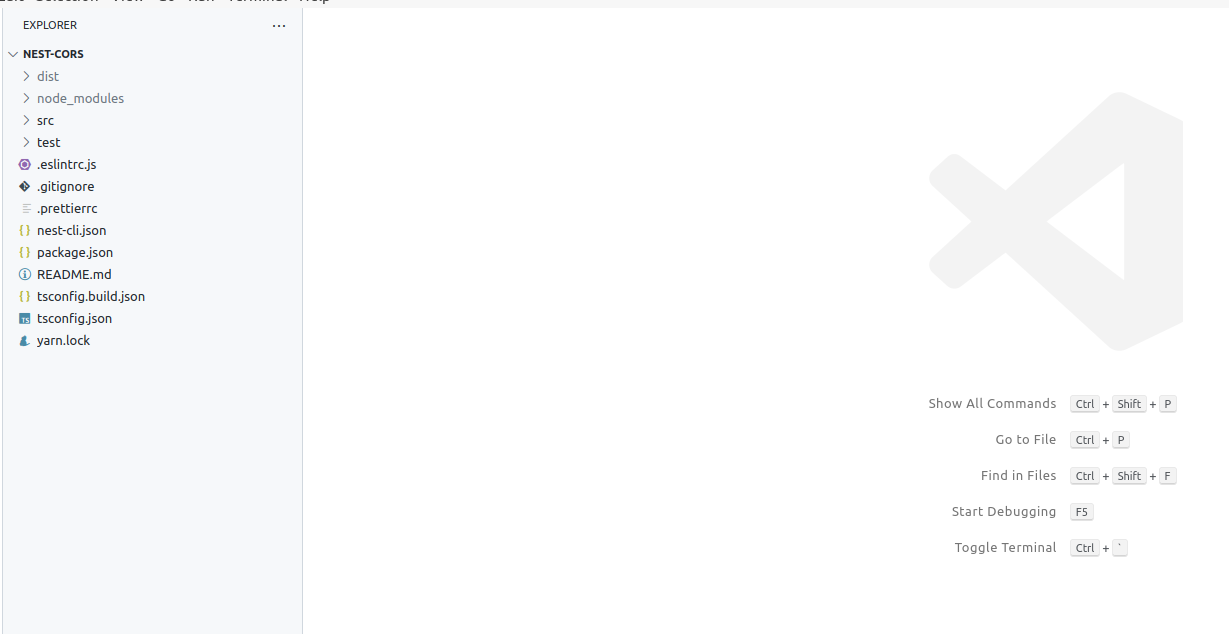
Your Project structure looks like this:
Inside the src directory of the project, you could find the main.ts file. This is the file where an instance of the app is created. We could enable CORS in the nest in two ways:
- Passing CORS as an object in the NestFactory.create method.
async function bootstrap() {

const app = await NestFactory.create(AppModule, {

cors:true

});

await app.listen(3000);

}

bootstrap();
- enableCors is the easier method to enable CORS in the next application.
async function bootstrap() {

const app = await NestFactory.create(AppModule);

app.enableCors();

await app.listen(3000);

}

bootstrap();
Available CORS options
In most cases, we want to make our API accessible only to the domain or port we want. In this case, we could pass options to enableCors method to pass which domain we want to allow.
async function bootstrap() {

const app = await NestFactory.create(AppModule);

app.enableCors({

origin:’http://localhost:3000/’,

});

await app.listen(3000);

}

bootstrap();
After passing options to the code we can check the response header in the browser visiting network tap. It shows our application only allows access from the domain we want http://localhost:3000/ in this case.

Sometimes we want our API to access by the public in this case we could use the wildcard * or leave the default.
Conclusion
Here comes the end of this post. You have learned about the Cors and how to enable them in Nest to make requests from different origins by using CORS.
The full project source code used in this article is available in github. Feel free to play around.